How to Ensure a Successful Roof Installation?
A Step-by-Step Guide to a Smooth and Effective Roof Installation Process
Installing a new roof is one of the most important investments for the safety and longevity of your home. Whether you’re building a new home or replacing an old roof, proper installation is crucial to ensuring the integrity of your structure and preventing costly repairs in the future. This guide will walk you through the essential steps for a successful roof installation, from preparation to the final inspection.
Here are the key steps to follow for a successful roof installation:
Step 1: Preparing the Area
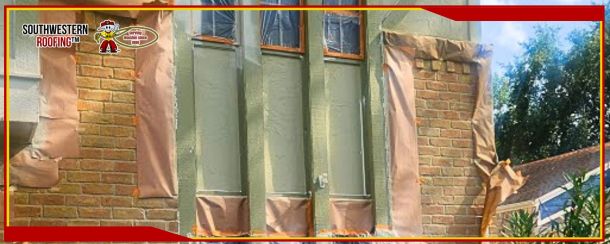
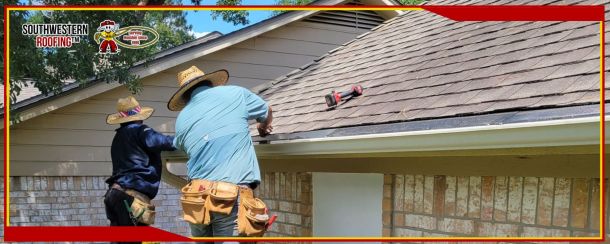
Before any materials are installed, it’s essential to clear the area of debris and ensure that the roof structure is safe for work. This includes removing any old roofing materials if you're replacing an existing roof. Proper preparation also involves setting up scaffolding or ladders and ensuring safe access to the roof.
Step 2: Choosing the Right Materials
Selecting the right materials is critical for the success and durability of your new roof. Consider the climate in your area, the style of your home, and your budget when choosing roofing materials. Some popular options include:
- Asphalt Shingles: Affordable and durable, ideal for most climates.
- Metal Roofing: Long-lasting and energy-efficient, great for extreme weather conditions.
- Wood Shingles or Shakes: Aesthetic and environmentally friendly, perfect for specific home designs.
- Tile Roofing: A highly durable and fire-resistant option, perfect for hot climates.
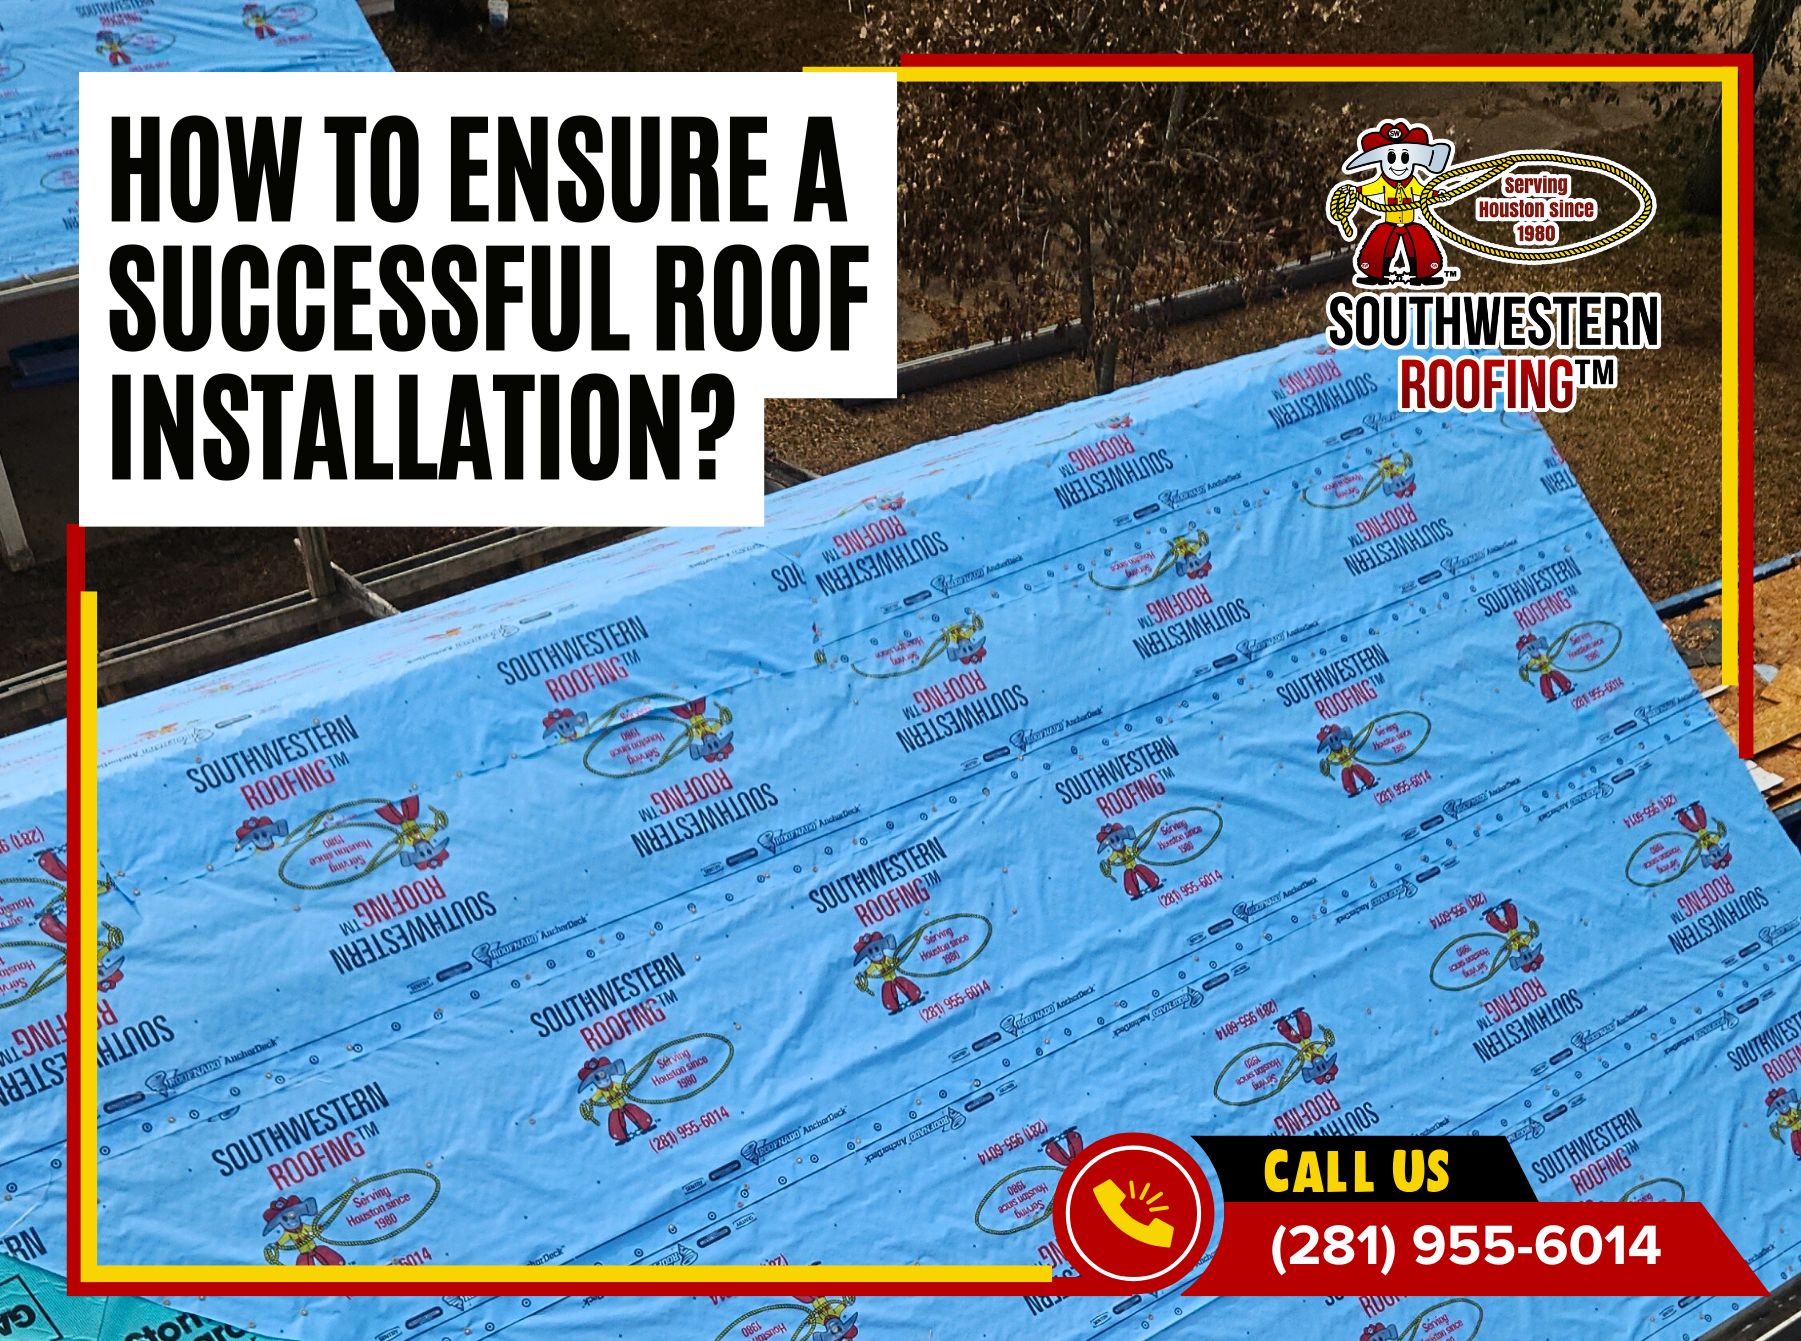
Step 3: Installing the Underlayment
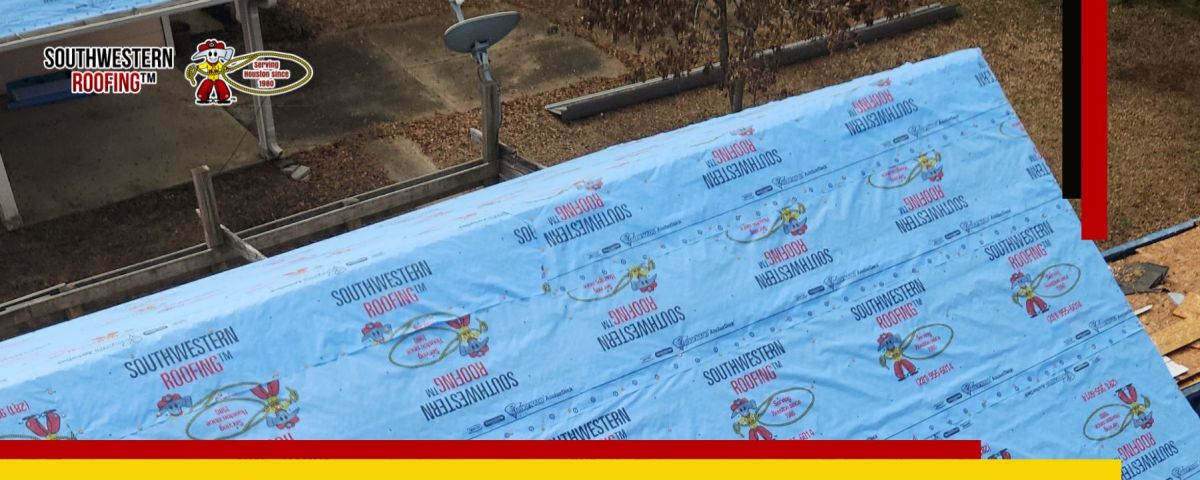
The underlayment is a critical layer that helps protect the roof deck from moisture and leaks. It’s typically made from felt or synthetic materials. It is installed over the roof deck before the shingles or tiles to ensure a weather-resistant barrier is in place. This step is essential for prolonging the life of your roof and preventing water damage.
Step 4: Laying the Roofing Material
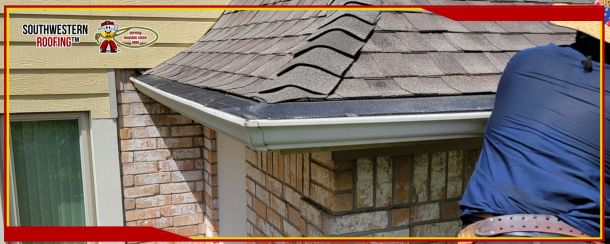
Once the underlayment is installed, the next step is to lay the primary roofing material. This may involve placing shingles, tiles, or metal panels in a carefully planned pattern to ensure that water flows off the roof without pooling. Each row of shingles or tiles should be staggered to prevent water from entering beneath the layers.
Step 5: Installing Flashing and Ventilation
Flashing is installed around critical areas of the roof, such as chimneys, vents, and valleys, to direct water away and prevent leaks. Ventilation is also essential to reduce moisture buildup in the attic and prevent damage to the roofing materials. Proper airflow helps regulate the temperature and humidity in the attic, preventing mold growth and extending the lifespan of the roof.
Step 6: Inspecting the Installation
After the installation is complete, conduct a thorough inspection to ensure that all materials are secure, the roof is level, and there are no gaps or weak spots. Check for proper alignment of the shingles, ensure that the flashing is in place, and verify that all nails are properly driven in. It’s also essential to inspect the interior of the attic for any signs of leaks or drafts.
Step 7: Final Clean-Up and Disposal
After the installation and inspection are completed, the final step is cleaning up the area. This includes removing any excess materials, debris, or nails left behind during the installation. A professional roofing company will also conduct a magnet sweep to ensure that no nails are left on the ground, which can be dangerous for both people and pets.
A successful roof installation is crucial to ensuring the protection and value of your home. By following these steps carefully, you can ensure that your new roof will last for many years and withstand the elements. Proper material selection, installation techniques, and inspection are key to achieving the best results for your roofing project.
If you're considering a new roof installation, don’t hesitate to reach out to the professionals at Southwestern Roofing. Our experienced team will help guide you through every step of the process, from selecting the best materials to ensuring a perfect installation. Call us today at (281) 955-6014 to schedule your consultation and get started on your roofing project!
Southwestern Roofing: We had our humble beginnings, but our goals have always been the same: To offer quality workmanship at a fair and reasonable price in addition to always treating each of you with honesty, integrity, and respect. Meeting with you, sharing ideas, and helping you achieve that goal has been a welcomed privilege.
Southwestern Roofing in Texas
Southwestern Roofing in Texas, Roofing Company in Texas, Roof Replacements in Texas, Roof Installations in Texas, Roof Repairs in Texas, Routine Roof Maintenance in Texas, Roof Inspections in Texas, Window Replacements in Texas, Patio Installations in Texas, Siding Replacements in Texas, Fence Replacements in Texas, Remodeling in Texas, Exterior Painting in Texas, Room Additions in Texas, Deck Installations in Texas, Gutter Installations in Texas, Exterior Repairs in Texas, Fence Installation in Texas, Free Roof Inspection in Texas,, Free Residential Roof Inspection in Texas
